This is one of our favorite outdoor activities and it’s something you can do with kids or I find it’s quite therapeutic to do on my own as well. It’s fun to do in the spring or summer on an overcast day or in the fall when it’s cooling down. We use them to decorate our front porch in the late spring, summer and early fall and bring them in before the first frost. I love having them in the house in the winter to bring some of the outside in during those long New England winters.
The beauty of this project is you can spend as much or as little as you want. I purchased one of my terrariums but other containers that I’ve used are ones that I’ve collected from floral arrangements over the years. You can find some at the thrift store and you can get creative with it as any sealed-bottom, clear container would work. You could even use emptied clear 2 liter soda bottles for the kids.
This is the perfect project to get the family outside and search for items to use. We typically only use plants that we find around our property but you could also buy some at a gardening store.
If you do search outside for plants, and if you’re not a plant expert, I’d suggest using a plant app to ID the plant to ensure you’re not accidentally digging up something poisonous, undesirable, or endangered and always use gardening gloves. It’s also helpful to know what poison ivy, poison sumac, and poison oak look like to avoid touching and ruin the fun. If you don’t know for sure what something is, leave it alone. We look for mosses, clovers, ferns, small tree sprouts, violets, and other small perennials. We’ve also found pinecones, acorns, sticks, and rocks outside to use.
Materials:
Container of your choosing (follow this link for the House Terrarium in the photo)
Sand
Pebbles
Soil
Plants
Other objects (rocks, props, sticks, acorns, pinecones, etc…)
Garden shovel (to help you dig up plants)
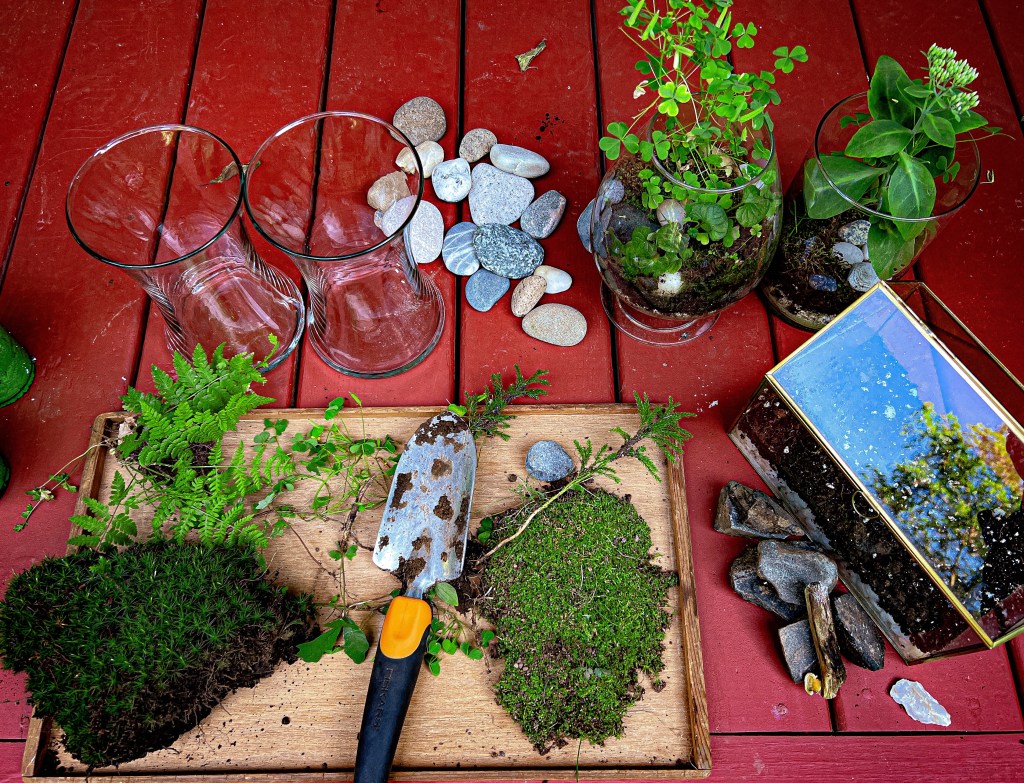
Step 1: collect materials
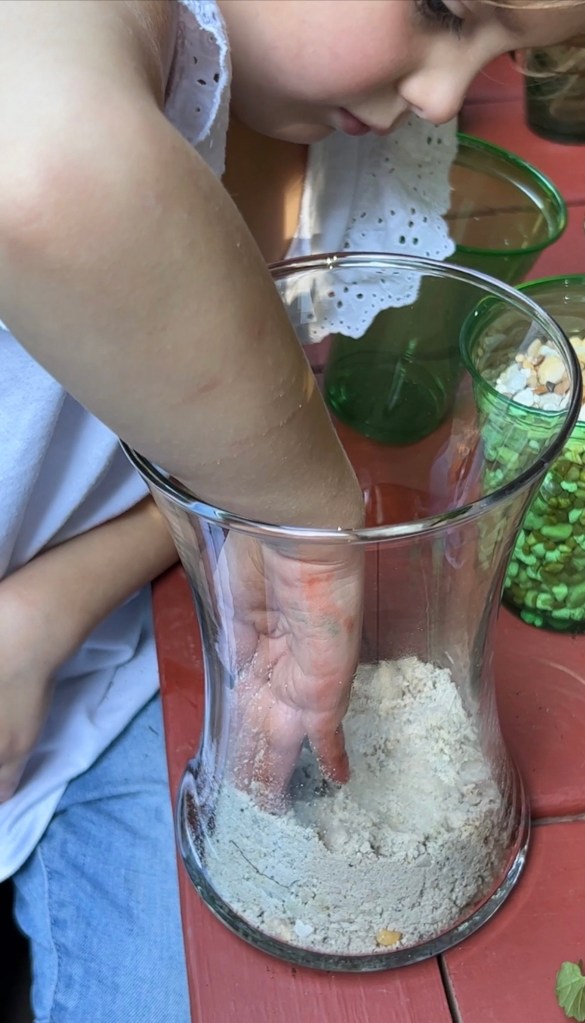
Step 2: layer substrate- first sand, then pebbles for drainage, then soil
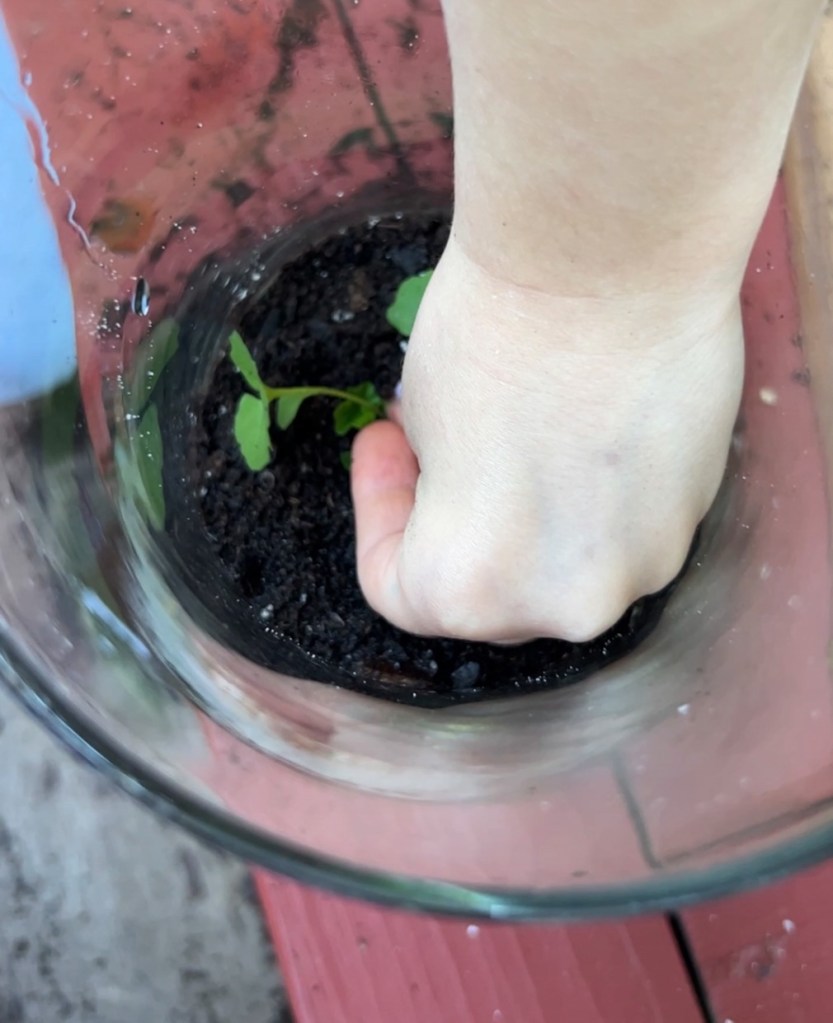
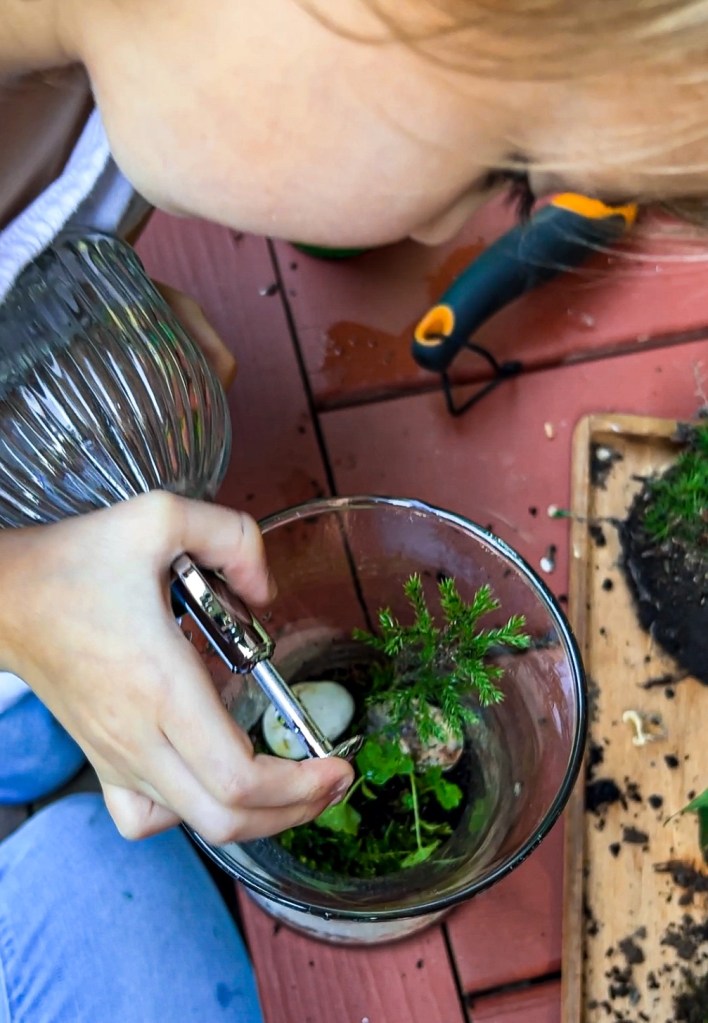
Step 3: make small holes for plants with your fingers and cover roots with soil, moss can lay on top of soil
Step 4: water plants, ensure not to overwater as water will not be able to drain effectively out of the terrarium (a good rule of thumb is to ensure soil is moist but not wet, note if your plants are cacti or succulents, let soil dry before watering again)
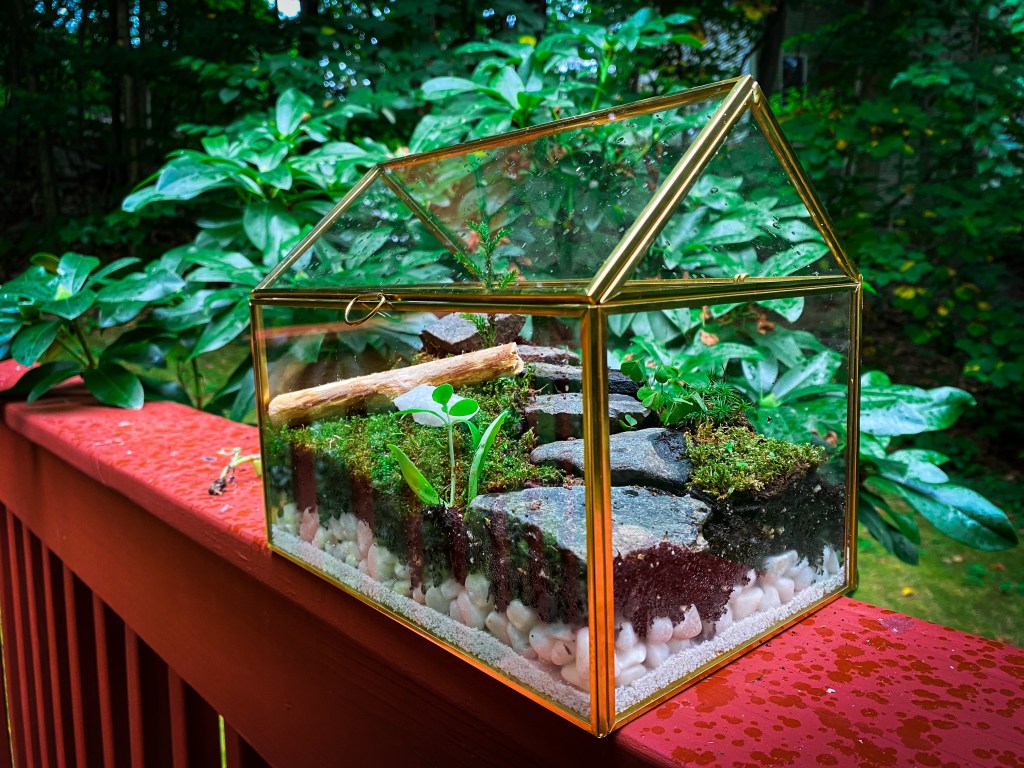
Step 5: add other objects to complete the design
Here is our finished terrarium from this project as well as others we worked on this year. You can see the ones we did from the spring are a bit overgrown now, we’ll likely trim them after they flower.

Note: If they are not covered/enclosed like the terrarium on the right is, then they will likely need more water and more frequently. The enclosed house terrarium on the right is kept more humid naturally and it only needs a light spritz of water every week or so.
If you want in on the fun but would rather have an easier kit to work with or don’t have a ton of plants to choose from outside, I love these terrariums from Amazon for kids:
Follow Kristinanewengland.com for more diy home and garden projects and activities for kids.

Leave a comment