This kitchen backsplash painting hack was so quick and easy and made such a big difference that I had to share!
We are DIYers and we learned much of what we know from our family members who own general contracting and painting companies. Not to mention, I learned a lot from my father who went to school for carpentry and built my childhood house. Needless to say, we’re not afraid to take on a house that needs some updates.
If you recently bought a house, depending on where you live, there’s a good chance it was built in the 90s. I’m from Connecticut and most of the real estate on the market is older which means when you buy, there may be some older features that are no longer in style that you wish to update for aesthetics even though the bones may be good and the function might work for you.
When we bought our house, we noticed the generic honey oak cabinets, older 90s square tile backsplash, boring out of style hardware, not to mention popcorn ceiling, and older light fixtures but the kitchen was functional and I had no complaints other than aesthetics.
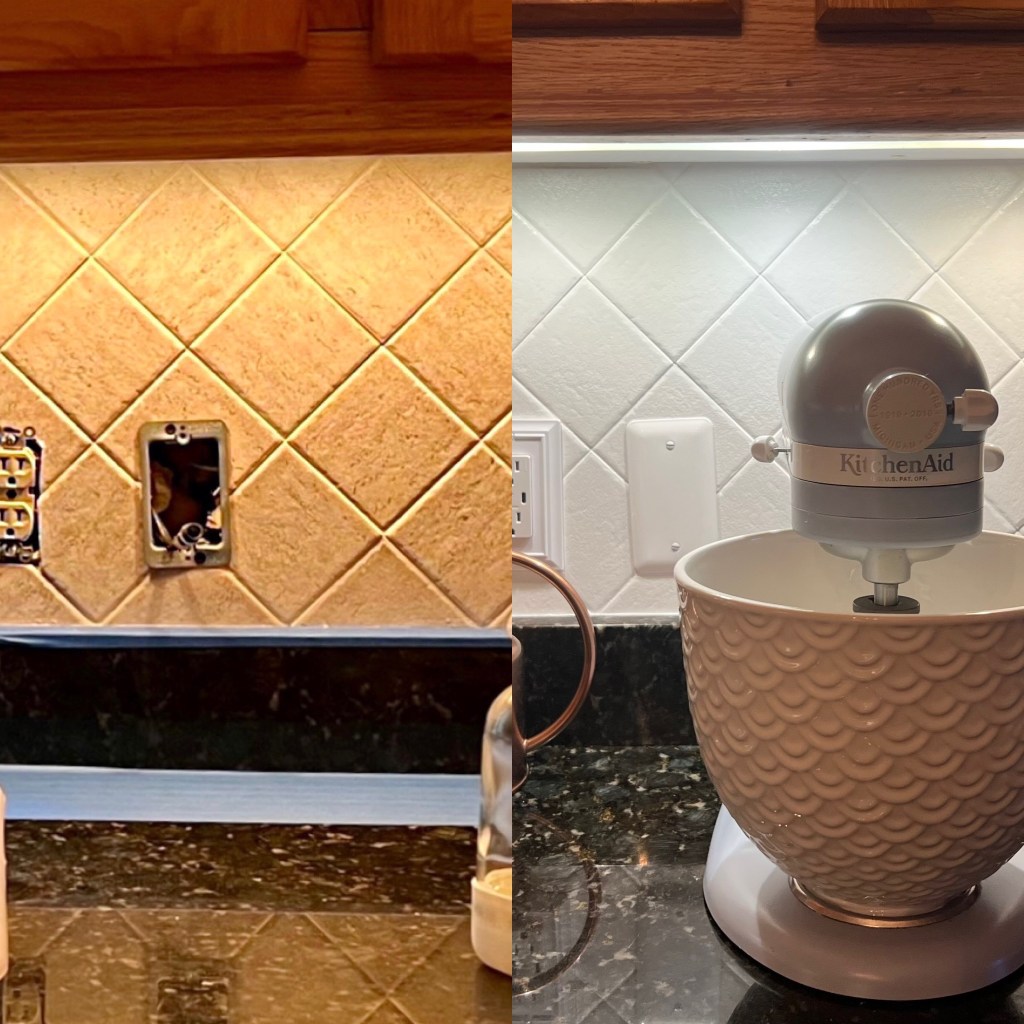
The major project covered here is the backsplash. I was eyeing brand new designer tile since we moved in a few years ago and we just haven’t had the time or the budget. With 2 toddlers running around and staying busy with other major projects around the house, I decided I wanted a quick, easy, and cost effective fix to make the kitchen feel more updated and more enjoyable to cook and eat in.
It’s amazing what some paint can do!
Materials needed:
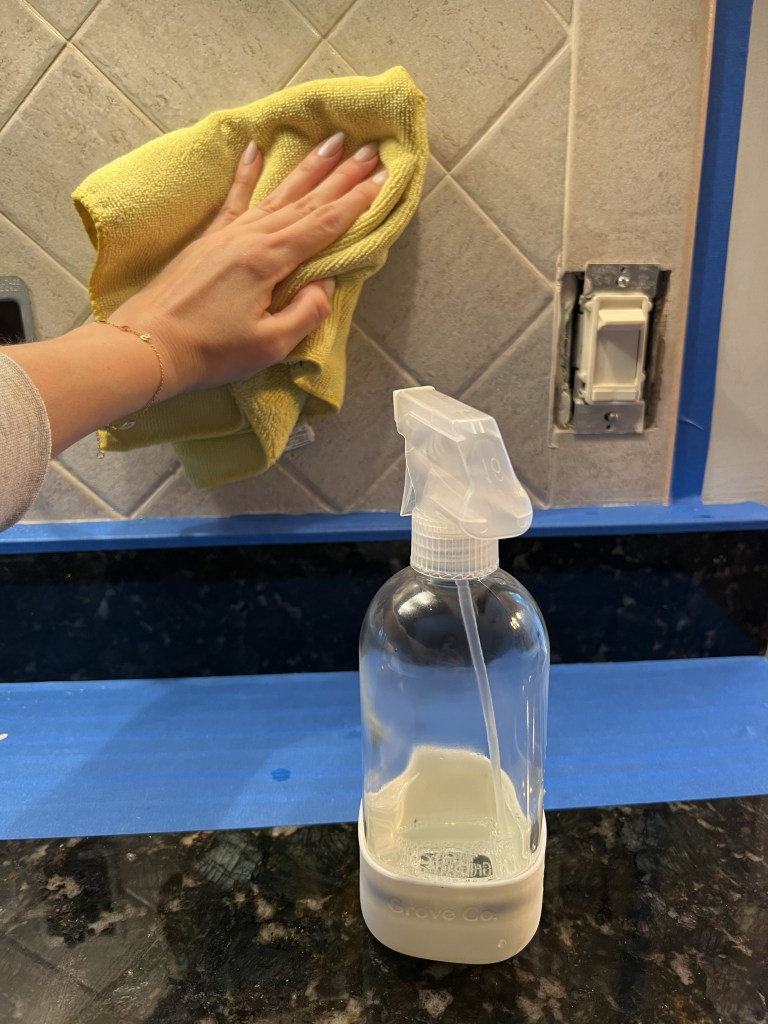
Cloth or paper towel and cleaning spray
Screw driver
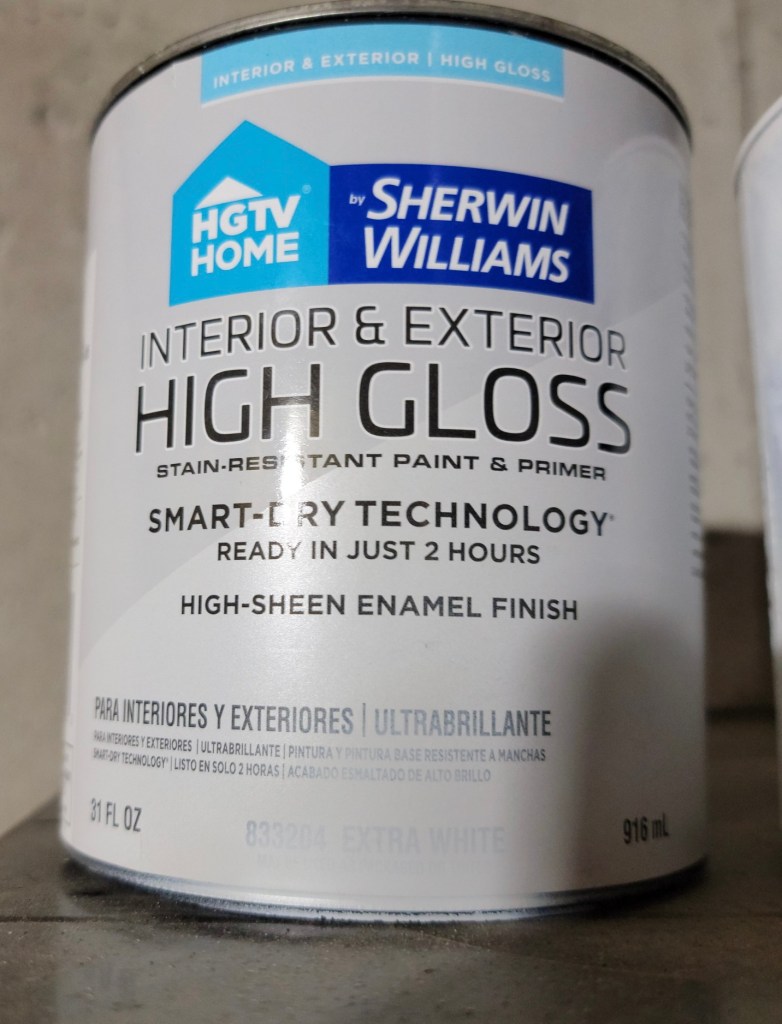
1 can of Stix (we only used about 1/2 a can for all our backsplash tile)
High gloss white enamel paint (or any other color you choose but high gloss gives it that modern tile look)
Painters tape
High quality small angled paint brush
Small roller
Paint tray

Step 1: Prep and clean the backsplash surface. Remove outlet covers, tape edges with painters tape where needed.
Step 2: Apply Stix to entire area starting with the edges then using the roller for the larger areas. Let dry according to the cure time on the can.
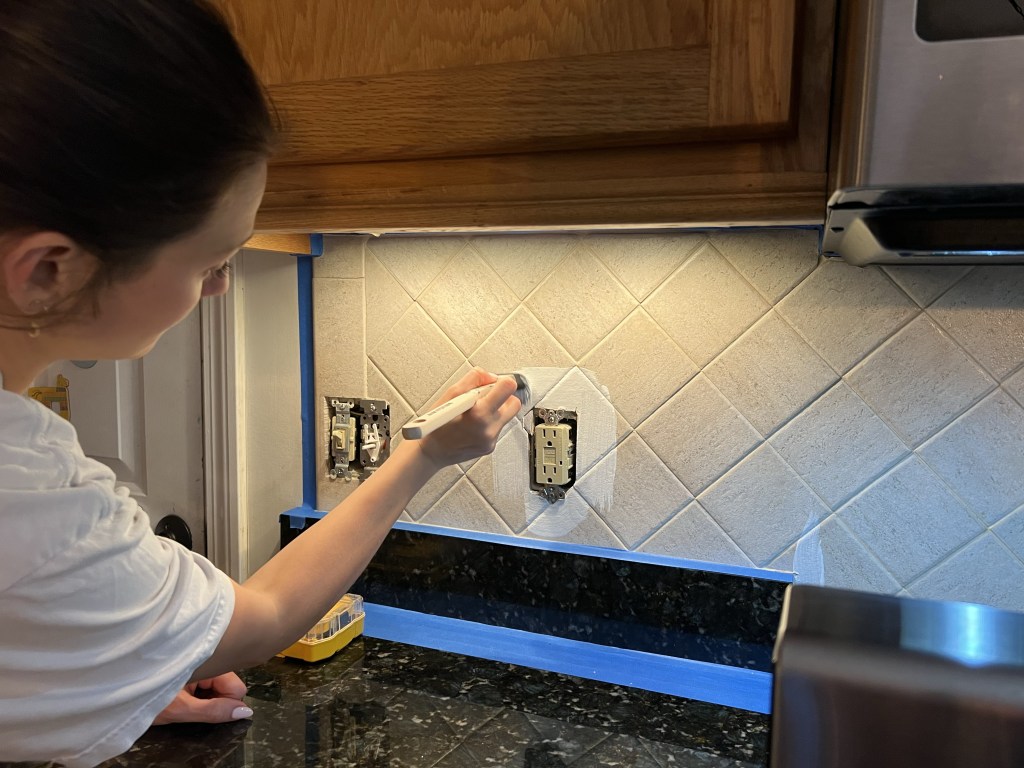
Step 3: Once the Stix has dried completely, apply one or two coats of the high gloss paint as needed. Let dry as noted on can.
Step 4: Put outlet covers back on, remove tape and enjoy new updated look!
Other notes:
Stix is useful because it adheres to the tile and provides a bonding surface for the paint. I would not skip this part or you might end up with paint chipping off.
We also replaced the outlets as part of this modernization remodel project to make them white versus almond to further update the look. I would advise working with an electrician if this is something you want. The other option is updating the covers only. We have done various other updates since moving in including updating the light fixtures, hardware, and faucet. We also removed popcorn ceiling in pretty much the whole house including the kitchen. Overall I’m very happy with the results with only some DIY cosmetic changes.
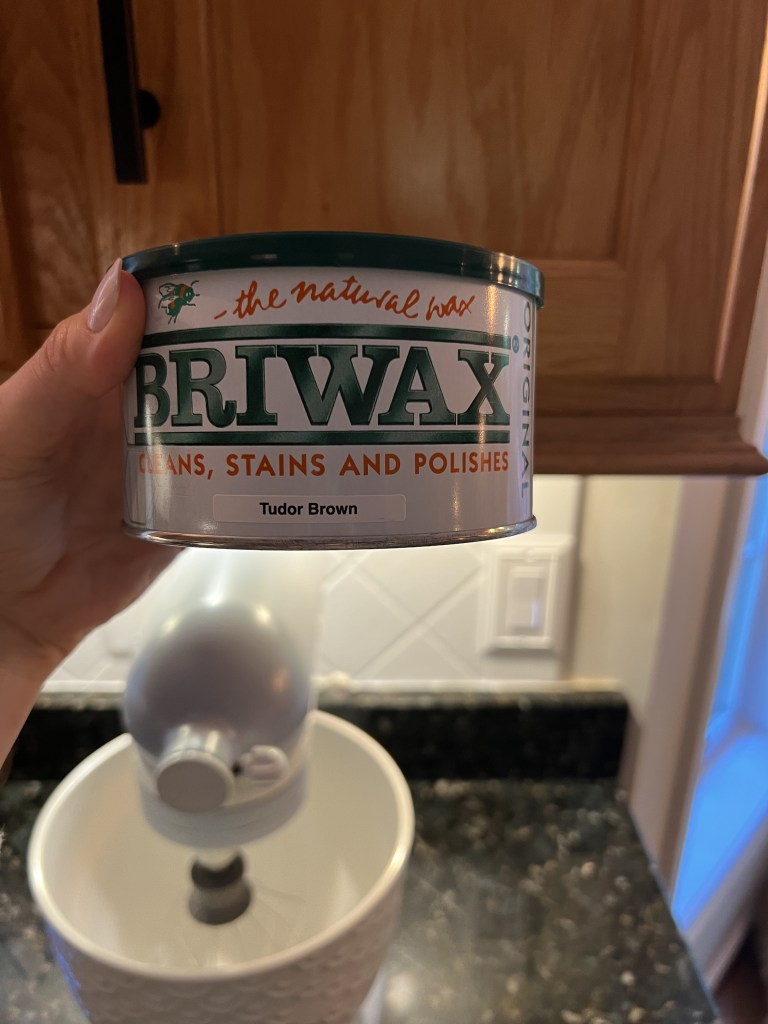
Painting or waxing the cabinets is likely next on the list but we so far have opted not to paint (although tempting) as we know from industry professionals that although the paint looks great, it chips over time. Cabinets should really be professionally painted with an epoxy. A lower cost option that we are leaning toward would be to darken them with some wood wax such as Briwax.
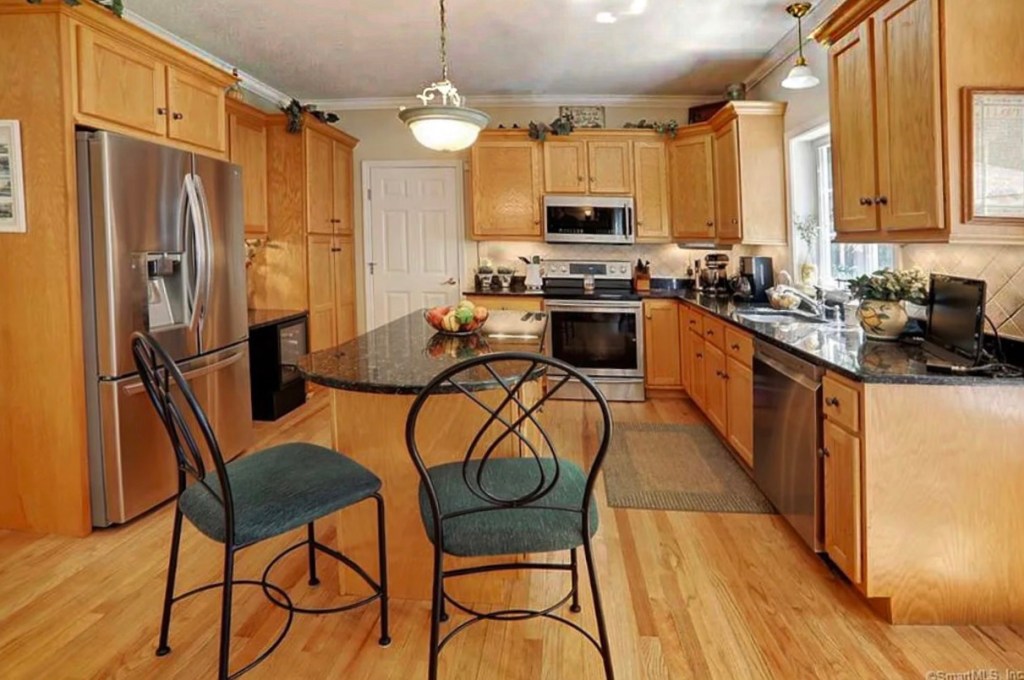
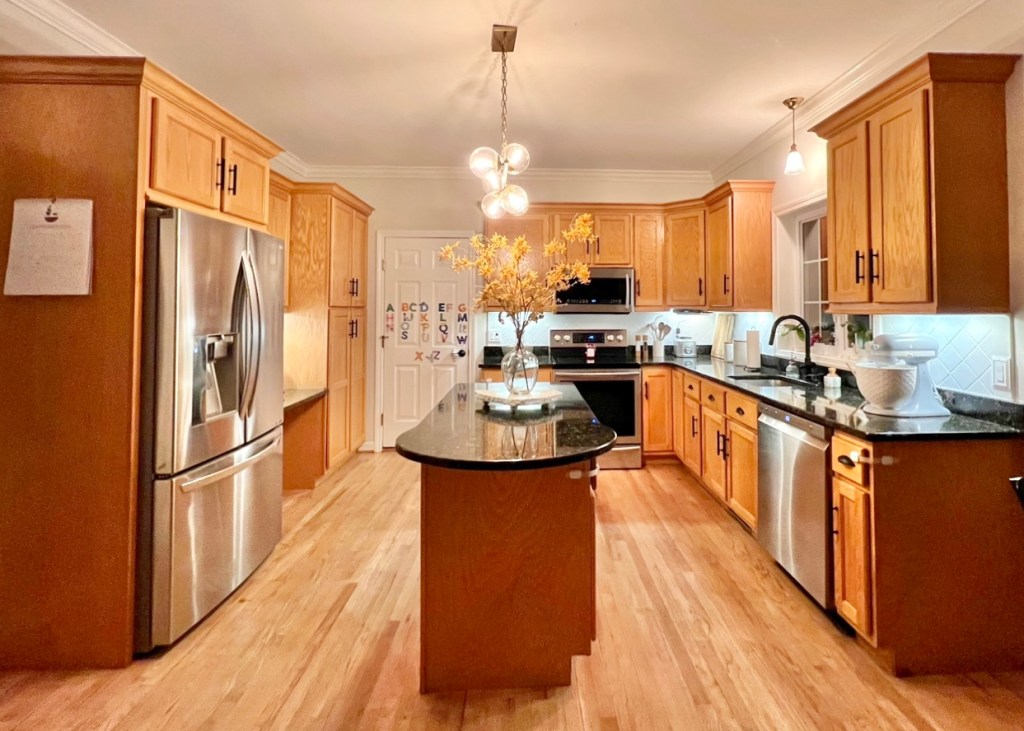
Here is the overall kitchen before and after all of our updates. Although the pictures don’t do the updates justice because the cabinets are still the same color, when you’re in the kitchen it has a much more modern feel!

Let us know if you have any other suggestions for the cabinets in the comments and follow me at Kristinanewengland.com for more easy DIY projects geared towards busy families like us.

Leave a comment